


About
Make your own clock - no power tools needed!
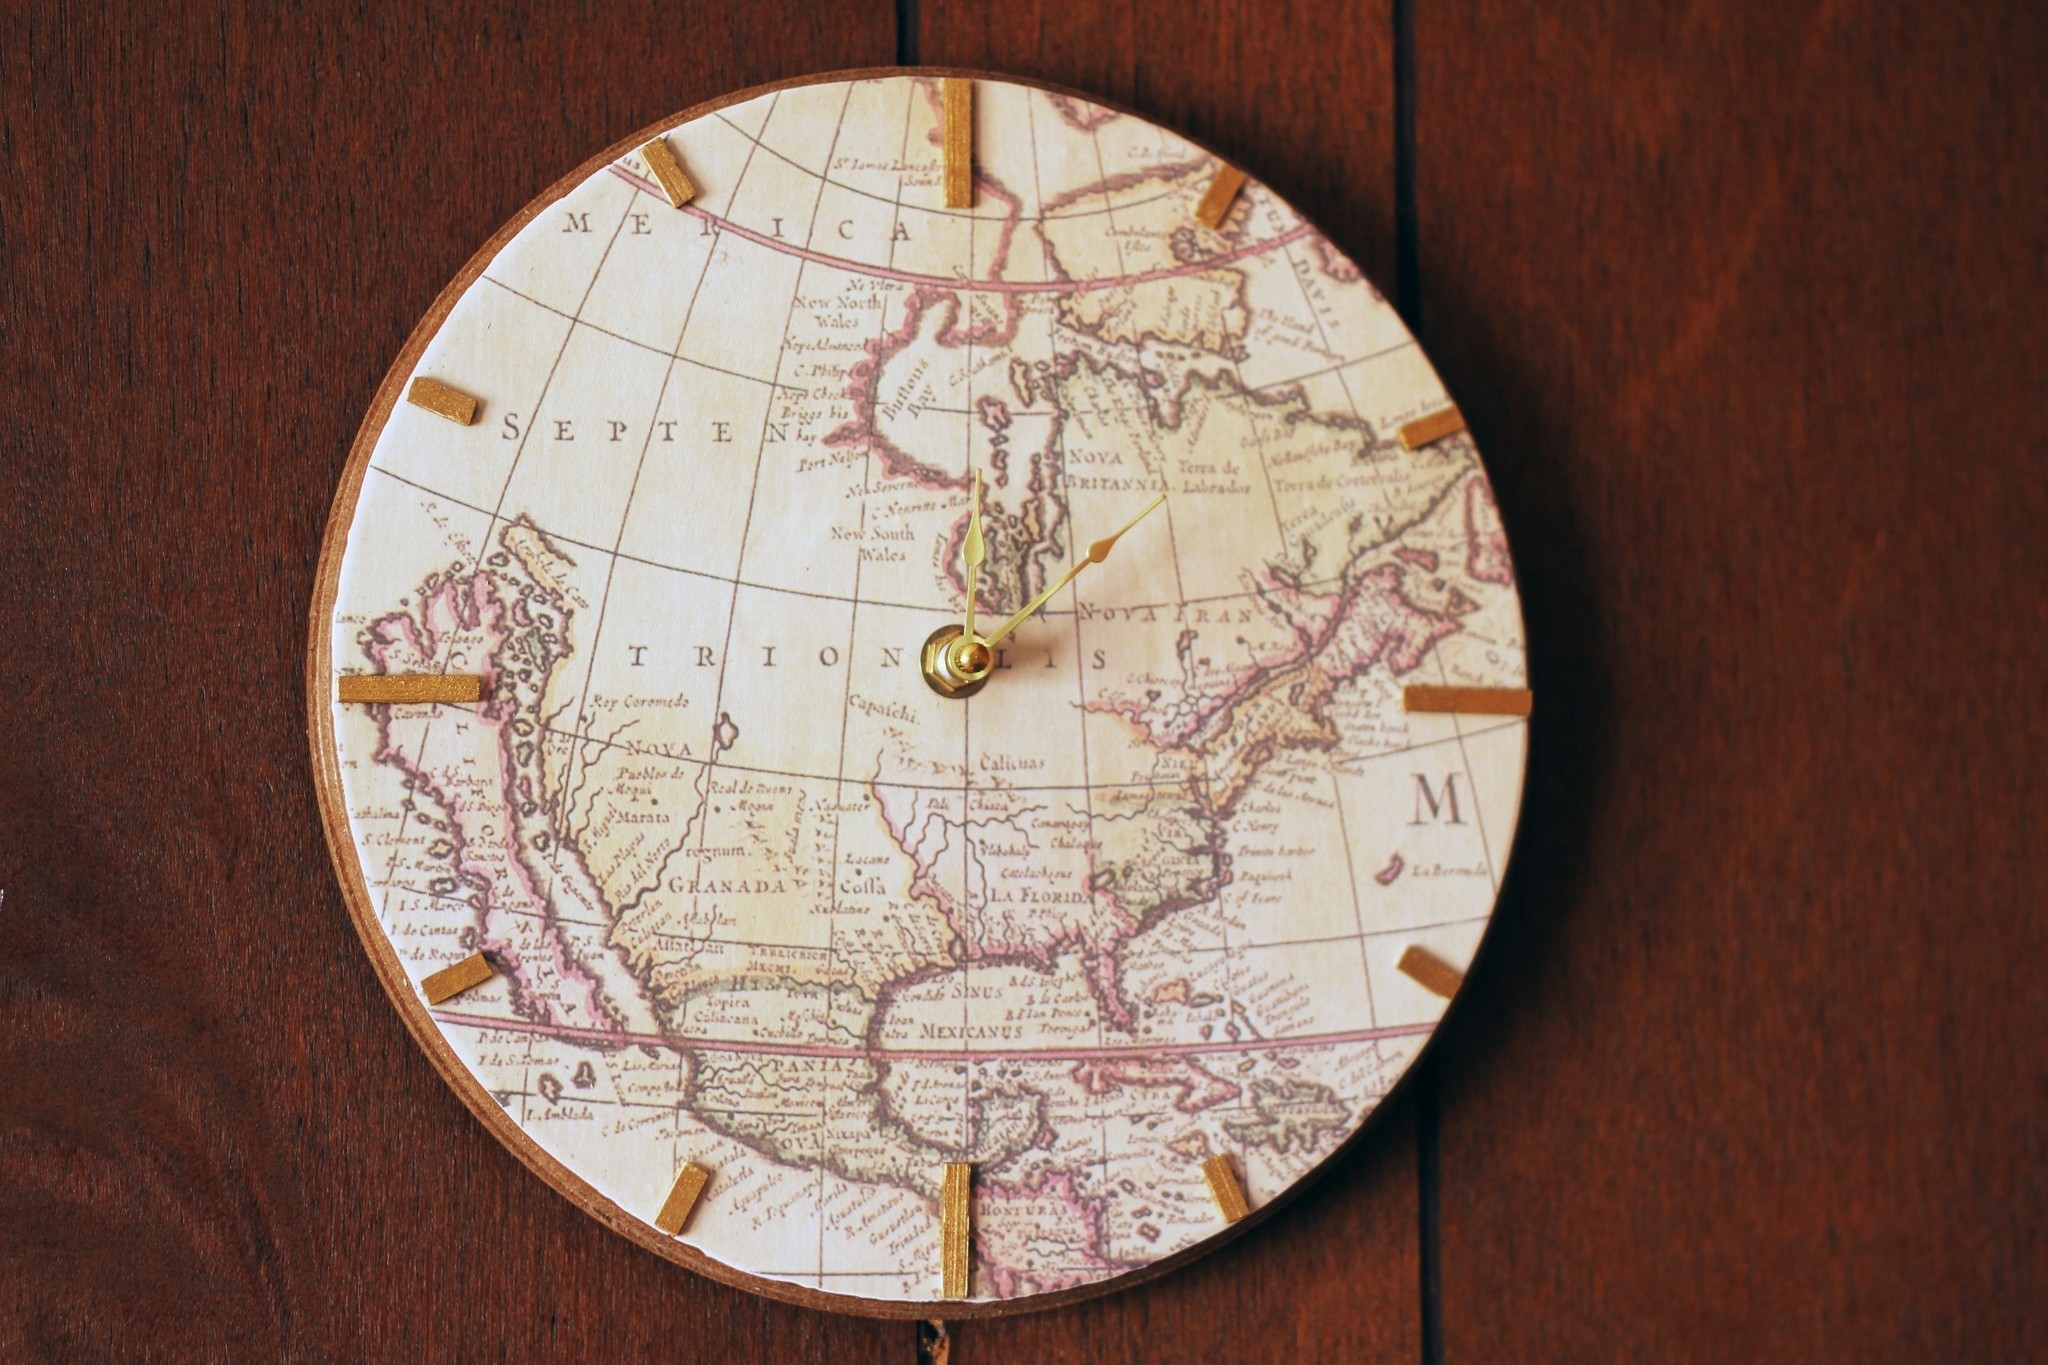
Spruce up your home with this DIY clock-making tutorial! No power tools needed, not even a drill!
-
 Trisha J. favorited Map Clock
27 Nov 02:47
Trisha J. favorited Map Clock
27 Nov 02:47
-
 ArteinterrogantE favorited Map Clock
10 May 12:12
ArteinterrogantE favorited Map Clock
10 May 12:12
-
 Taylor K. favorited Map Clock
12 Feb 22:58
Taylor K. favorited Map Clock
12 Feb 22:58
-
 tina.watton.12 favorited Map Clock
06 Oct 09:16
tina.watton.12 favorited Map Clock
06 Oct 09:16
-
 Heather G. favorited Map Clock
06 Oct 00:29
Heather G. favorited Map Clock
06 Oct 00:29
-
 Rachel's Craft Channel added Map Clock to Sherlock
29 Sep 20:12
Rachel's Craft Channel added Map Clock to Sherlock
29 Sep 20:12
-
 Maddy W. favorited Map Clock
26 Sep 15:08
Maddy W. favorited Map Clock
26 Sep 15:08
-
 Mariselis added Map Clock to Crafts | DIY
15 Jul 13:14
Mariselis added Map Clock to Crafts | DIY
15 Jul 13:14
-
 jessica.boulanger.10 favorited Map Clock
09 Jul 05:06
jessica.boulanger.10 favorited Map Clock
09 Jul 05:06
-
signe P. added Map Clock to dekoration
07 Jul 12:21
-
 Step 1
First, attach hanging hardware on the back of your wooden frame.
-
 Step 2
Okay, back on track! Cover the front of your frame with Mod Podge, then lay your map page right-side up on the top of the frame, including over the empty circle in the middle. Smooth out any air bubbles.
-
 Step 3
Using a new, sharp X-acto blade, cut the excess paper off the wooden frame. The newer your blade, the smoother the cut will be.
-
 Step 4
Coat the top with a layer of Mod Podge. Make sure you apply the Mod Podge along the edges to seal the paper. Set aside & let dry.
While your clock face is drying, cut your balsa wood into small pieces. These will be the marks around the edge of the clock so we can actually tell what time it is! If you're going for a super mod look, you can just skip this part.
-
 Step 5
You should have four longer pieces (for 3, 6, 9, and 12 o'clock) and eight smaller pieces (for the remainder of the numbers). Paint the balsa wood pieces with gold paint.
-
 Step 6
Now comes the tricky part - figuring out where to put your numbers! I cut a circle the size of my clock face & folded along the lines as seen right. Then I cut my template down so I could follow the crease lines.
-
 Step 7
Glue your gold balsa wood pieces in place.
-
 Step 8
Almost done, gang. Now it's time to attach your clock motor! Flip your clock face over & cut a hole through the decoupaged paper in the very middle of your frame, large enough to place the clock's arm shaft in. Assemble the clock hands according to the directions that came with your clock kit. Keep the movement hanger attached, & nail it to the back of your clock face.


 1
Watercolor Art »
Watercolor Paints Made From Make Up
1
Watercolor Art »
Watercolor Paints Made From Make Up
 2
Paper Book Covers »
Shoe Inspired Spiral Notebook
2
Paper Book Covers »
Shoe Inspired Spiral Notebook
