


About
Who's a pretty bird??
While searching for simple arts and crafts projects using paper I stumbled upon this on Disney's Family Fun site. (Noted below) They have lots of great projects for kids. I do a lot of kids' crafts because I'm currently a kinder arts and crafts teacher in Korea.
If you are doing this with younger kids it's best to have all the strips pre-cut to the right sizes.
Tags
-
 Lynnski favorited Curly Circle Bird
12 May 10:22
Lynnski favorited Curly Circle Bird
12 May 10:22
-
 Lee B. favorited Curly Circle Bird
18 Aug 04:57
Lee B. favorited Curly Circle Bird
18 Aug 04:57
-
 Zombie Babe favorited Curly Circle Bird
05 Aug 07:37
Zombie Babe favorited Curly Circle Bird
05 Aug 07:37
-
 Lauren S. added Curly Circle Bird to Crafts
05 Aug 03:43
Lauren S. added Curly Circle Bird to Crafts
05 Aug 03:43
-
 Meaghan N. favorited Curly Circle Bird
02 Jan 23:19
Meaghan N. favorited Curly Circle Bird
02 Jan 23:19
-
Loes F. favorited Curly Circle Bird
27 Aug 12:39
You Will Need
-
 Step 1
Materials:
Gather your supplies.
I used origami paper but after making it with origami paper I would recommend something more sturdy like construction paper, card-stock or scrapbook paper.I would also use more colors like the original how to.
-
 Step 2
Materials:
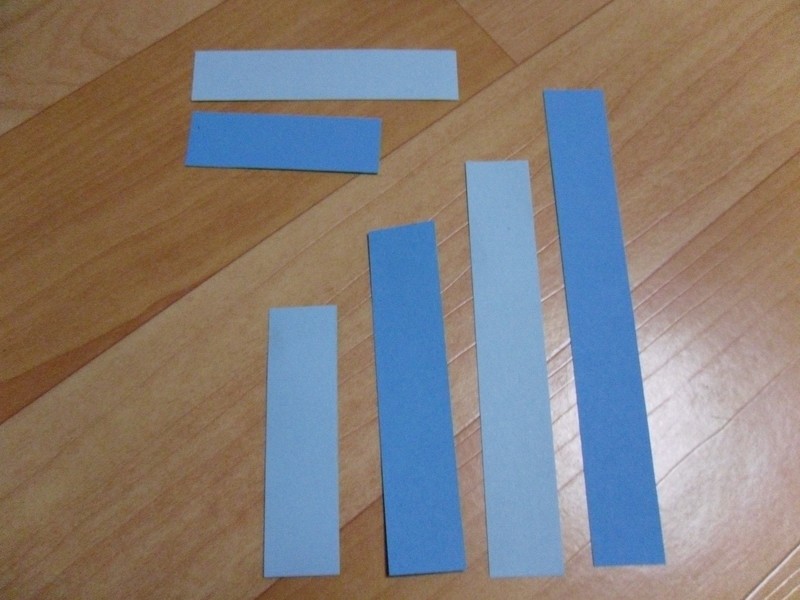
I had a hard time because everything is in metric in Korea and the original directions are in standard. Most likely you might be using standard so here are the measurement you will need. However if you are using origami paper you can just use 4 instead of 5 strips for the body and tail.Body: 5 (1-inch-wide) strips, 3, 4, 5, 6, and 7 inches long
Head: 2 (1-inch-wide) strips, 2 1/2 and 3 1/2 inches long
Tail: 5 (1 1/2-inch-wide) strips, 2, 3, 4, 5, and 6 inches long
Beak: 1 (1- by 2-inch) strip
Eyes: 1 (1- by 1 1/2-inch) strip -
 Step 3
Body and Head:
I used only two pieces of origami paper and only cut 4 strips for the body 3, 4, 5 and 6 inches long.For the head, I cut the 2 1/2 and 3 1/2
all 1 inch wide.
(with two piece of different colors I was able to get enough strips for the whole bird!)
-
 Step 4
Body and Head:
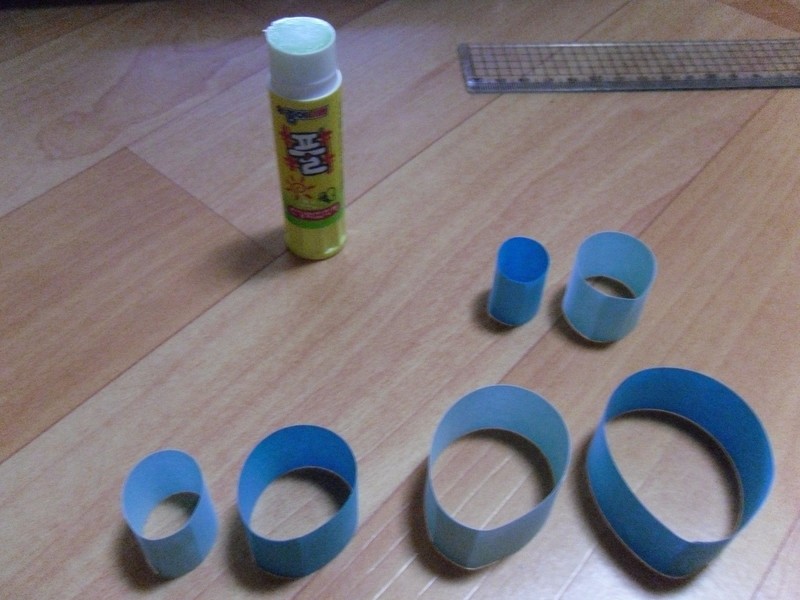
Glue one end about 1/4 inch with glue and fold into a circle. Do this for all 4 to 5 body pieces and 2 head pieces.You should end up with several circles of various sizes.
-
 Step 5
Body:
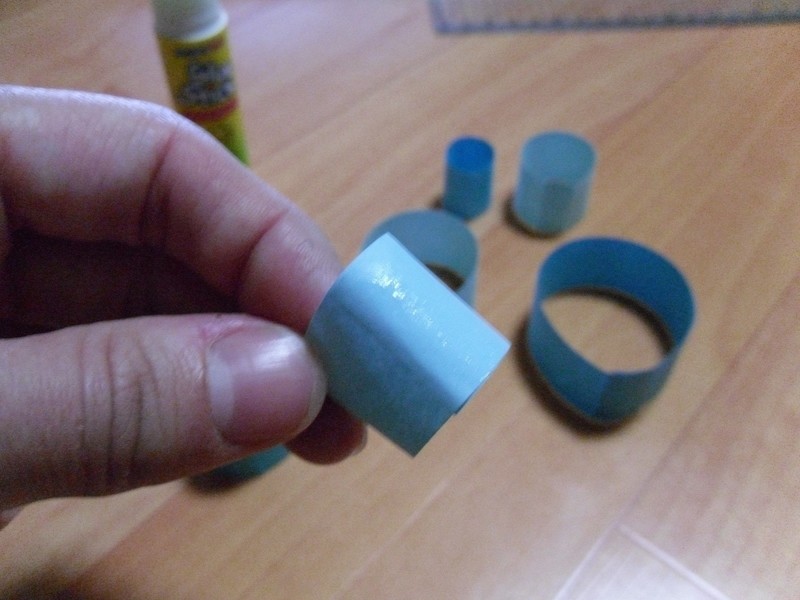
Start with the smallest body circle and glue at the bottom. Now insert this circle into the next biggest in size. You'll be 'nesting' them just like a Matryoshka doll.Head:
Do the same with the two small head circles. -
 Step 6
Body:
Now take your clothes pin and use it to hold the glued circles together while they dry. This is most useful for thicker paper. It's not really necessary for thinner paper. -
 Step 7
Head- The Eye:
While the body is drying let's make the eye.Take a 1- by 1 1/2-inch strip of black paper glue one side and roll it together on a toothpick.
-
 Step 8
Head-Beak:
Now you have the head and the eye. With the beak take a 1- by 2-inch strip and fold it in half.
Then with a pencil and ruler draw a triangle with a dotted line at the open end.
-
 Step 9
Head-Beak:
Cut the triangle where the point is still connected. Fold in on the dotted line.
Now glue the folded in part to the front of the head. Glue the black eye inside.
Glue the head to the body.
-
 Step 10
Tail:
Take your 1/2-inch-wide strips, 2, 3, 4, 5, and 6 inches long and cut a triangle shape into one end. Then towards the skinnier side glue each part to the body.
-
 Step 11
Bird:
Now you should have a complete curly circle bird!
Enjoy!!
PS Sorry for the poor quality photo!


Comments
 1
Watercolor Art »
Watercolor Paints Made From Make Up
1
Watercolor Art »
Watercolor Paints Made From Make Up
 2
Paper Book Covers »
Shoe Inspired Spiral Notebook
2
Paper Book Covers »
Shoe Inspired Spiral Notebook
