


About
Do you have trouble finding skirts that fit perfectly?
I wanted a high-waisted, midi-length skirt for the spring and summer. Determined to use supplies on hand, I created a pattern for a wrap skirt.
-
 Glenda W. favorited Wrap Skirt
29 Jul 22:48
Glenda W. favorited Wrap Skirt
29 Jul 22:48
-
 Jeanie M. favorited Wrap Skirt
27 Jul 10:37
Jeanie M. favorited Wrap Skirt
27 Jul 10:37
-
 Kajee favorited Wrap Skirt
17 Sep 10:26
Kajee favorited Wrap Skirt
17 Sep 10:26
-
 PixieFey added Wrap Skirt to Shoes, Clothes, Accessories
05 Jul 21:33
PixieFey added Wrap Skirt to Shoes, Clothes, Accessories
05 Jul 21:33
-
 Danielle V. published her project Wrap Skirt
03 Jul 10:21
Danielle V. published her project Wrap Skirt
03 Jul 10:21
You Will Need
-
 Step 1
Measure and sew the waistband. I started by measuring my waist, writing the number down. This plus 6 inches is the width of my waistband. The height of the band is twenty inches. Turned inside out, sew the ends along the height of the band. Then, turn it right side out and flatten the corners. Lay aside.
-
 Step 2
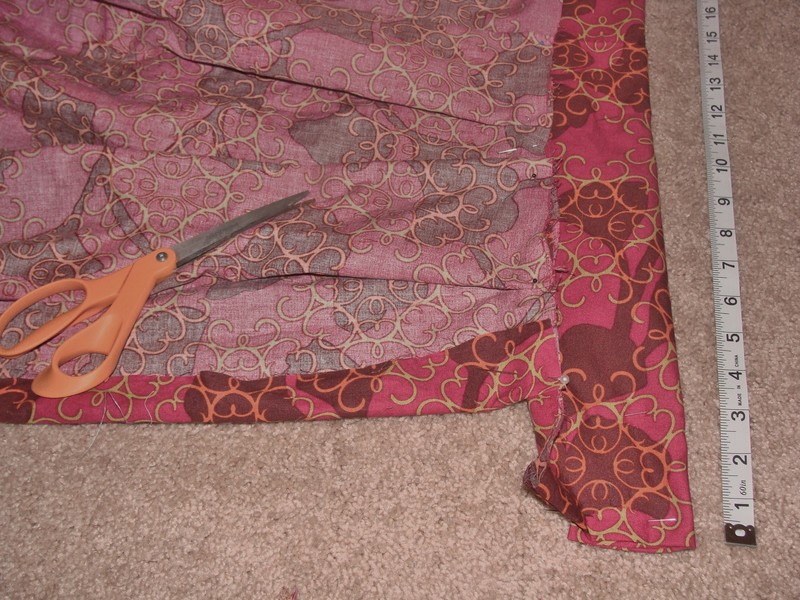
Cut and hem the skirt. Then, I measured from my natural waist to the middle of my calf, writing the number down. The body of the skirt is my waist measurement plus 20 inches. The length for the skirt is the measurement plus four inches. Make a rolled hem along the bottom. Then, fold over two seams on the sides, leaving the top of the skirt unfinished.
-
 Step 3
Line up the waistband and skirt. Laying out a tape measure, I lined up the waistband. The unfinished, open bottom of the waistband should be pinned together with the inside, unfinished top of the skirt.
-
 Step 4
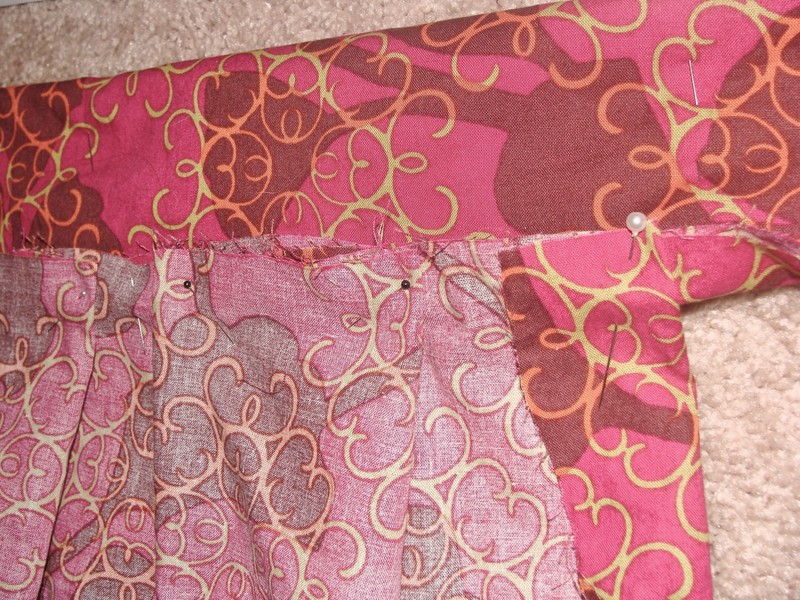
Pin and stitch the pleats. I put the skirt next to the waistband and pinned both ends. Leave room on one end of the skirt for an overlap to pin the skirt closed. Then, start with a pleat in the center, folding it and pinning in place. Stagger as many pleats as you like, working out from the middle to each end. Stitch along the length of the skirt to connect the waist to the skirt.
-
 Step 5
Finish the waistband. Fold the tall waistband over by 1/4 and pin in place on the ends and the center of the skirt. This adds a cute detail and reinforces the waist. Stitch down where you pinned.
-
Step 6
Button or pin the waist. While a button could be added to secure the waist, I opted to use a pin. It makes the waistband adjustable and easy. This skirt can be machine washed and ironed.


 1
Watercolor Art »
Watercolor Paints Made From Make Up
1
Watercolor Art »
Watercolor Paints Made From Make Up
 2
Paper Book Covers »
Shoe Inspired Spiral Notebook
2
Paper Book Covers »
Shoe Inspired Spiral Notebook

