
Whip Stitch
How to Sew Little Felt Animals
Posted by Search Press
About
There is something extra appealing about an article that is entirely hand stitched. If you prefer to work by hand than by machine, use whip stitch for the bulk of the work. When whip stitch is done neatly and at the right tension it looks very good on the reverse. I am right-handed and prefer to stitch from left to right, holding the felt firmly between thumb and forefinger close to the raw edges. My early animals were all hand stitched in this way and are still surviving after all this time.
Share
You Will Need (2 things)
- Needle
- Thread
Steps (6 steps, 5 minutes)
-
 1
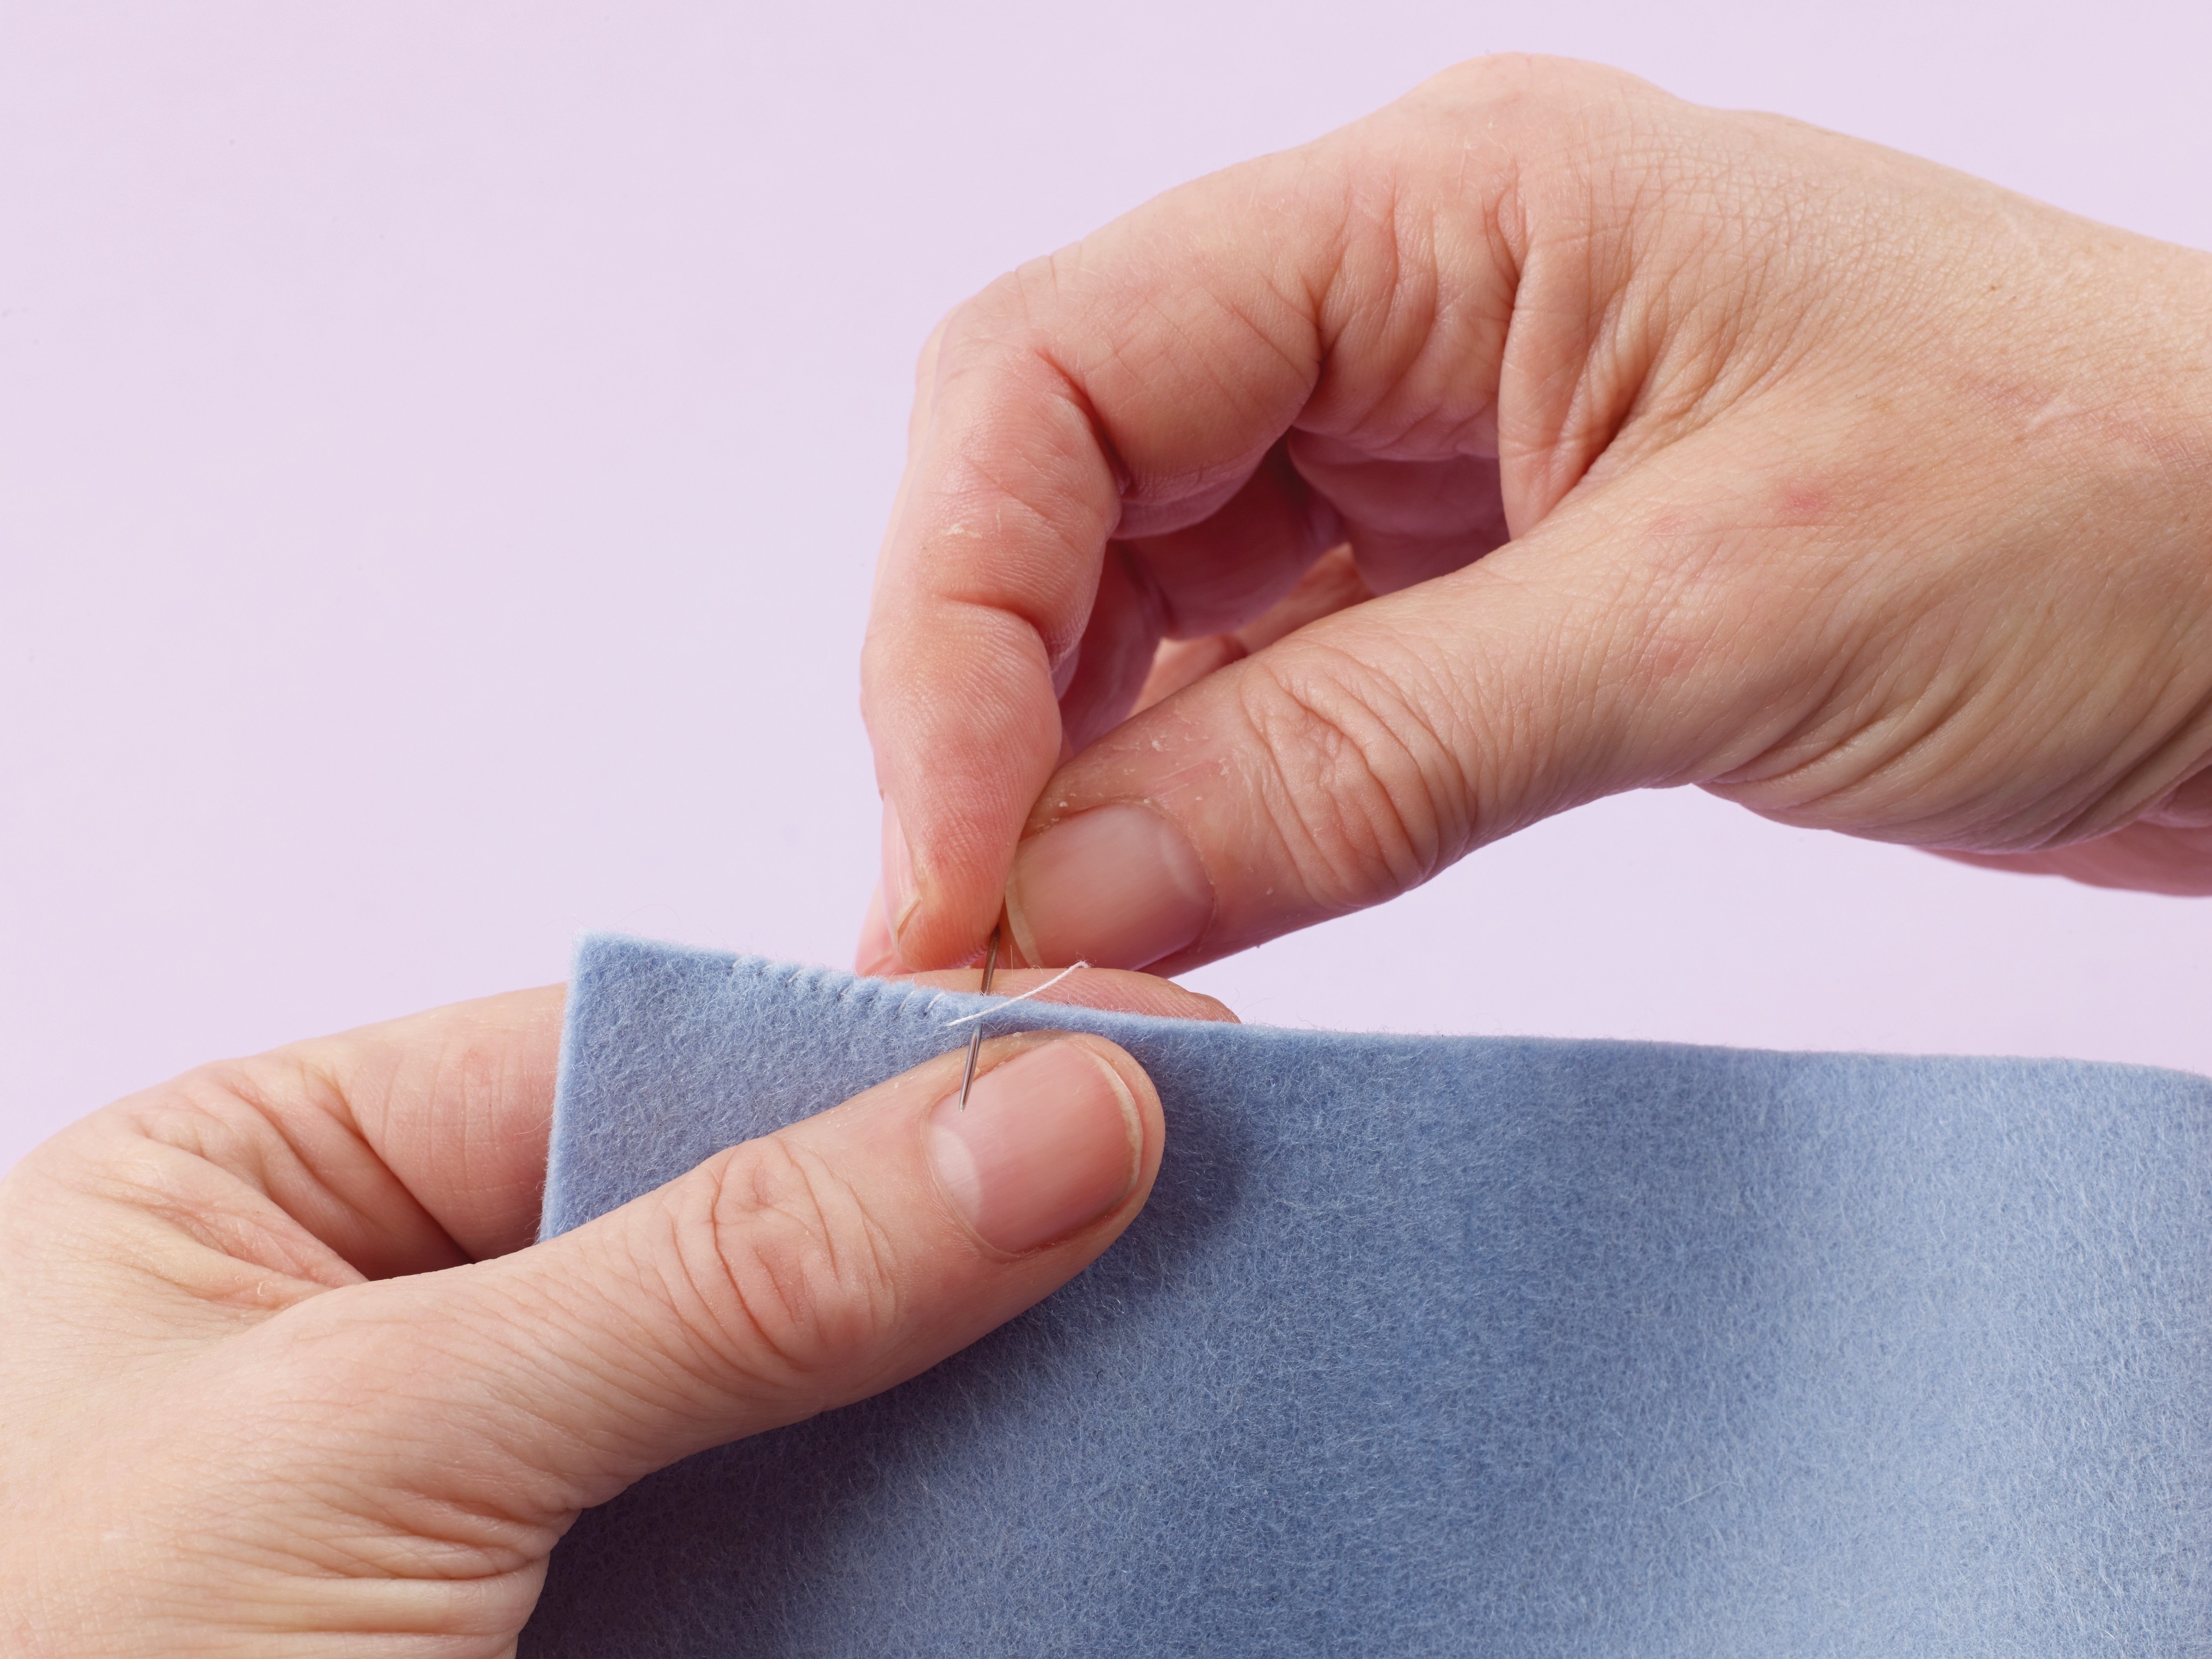
1Thread a 38cm (15in) length of machine thread onto a needle and bring together the two pieces of felt. Hold them firmly together, and take the needle through both pieces of felt from the back towards you. Start on the left-hand side of the felt.
-
 2
2Draw the thread through, bring the needle back round to the far side and take it through both pieces of felt as before, 2mm (1⁄16in) further along the fabric. This creates a loop.
-
3
Draw the thread through to tighten the loop. Do not over-tighten the stitch; it should draw the felt together but not be so tight as to buckle it.
-
4
Continue working along to the right in the same way, being careful to keep the stitches evenly spaced.
-
5
Work to the end of the area you want stitched, then make three or four whip stitches in the same place to secure the end.
-
6
Trim the thread to finish. When you turn the piece inside out, the thread will be well hidden.
TIP
As you draw the thread through, use your little finger to keep the tension. This eases the tension on the needle’s eye and stops the thread slipping through the eye as you work.