


About
Sling bag tutorial
This is for all of the awesome tutorial writing crafters. Its my first tute and I went a little nuts with the pictures. I love making these bags, because I don’t have to use much interfacing. They are supposed to be big and floppy. I do like a little structure so I use some heavier fabric for either the main fabric or the lining. In this case, I’m using a mod print quilting weight cotton for the main (outside) fabric and a striped canvas for the lining.
-
 Key West Witch favorited Sling Bag
12 May 16:10
Key West Witch favorited Sling Bag
12 May 16:10
-
 Joanne B. favorited Sling Bag
29 May 18:51
Joanne B. favorited Sling Bag
29 May 18:51
-
 mar *ૢ✧ ཻུ۪۪⸙͎ ೫ favorited Sling Bag
21 Sep 05:08
mar *ૢ✧ ཻུ۪۪⸙͎ ೫ favorited Sling Bag
21 Sep 05:08
-
Rae G. added Sling Bag to Bags
20 Jul 13:55
-
khushbu k. commented on Sling Bag
21 Aug 07:28
-
Lynn n. added Sling Bag to I Like It!!!
29 Sep 02:01
-
Lynn n. favorited Sling Bag
29 Sep 02:01
-
 Jan B. favorited Sling Bag
31 Dec 08:02
Jan B. favorited Sling Bag
31 Dec 08:02
-
Maria S. favorited Sling Bag
12 Nov 12:48
-
 Kay T. favorited Sling Bag
11 Nov 09:36
Kay T. favorited Sling Bag
11 Nov 09:36
You Will Need
-
 Step 1
First you cut like crazy.
Cut a long strip of each the main fabric and lining for the strap. 6x38 inches
Cut 2 large squares out of both the main fabric and the lining for the body of the bag. 18x18 inches
Cut a rectangle of the lining for an interior pocket. 8x16 inches
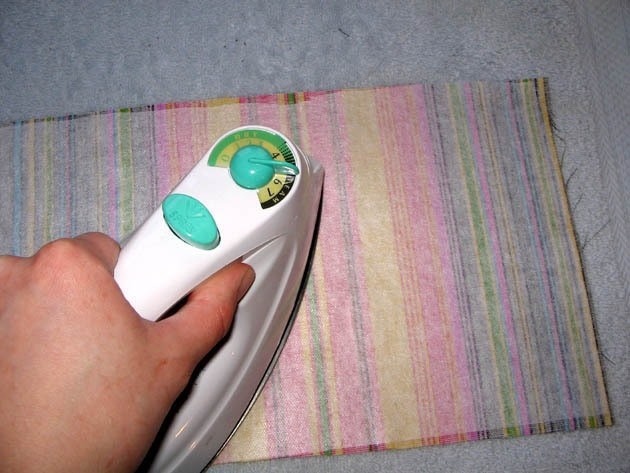
Fuse interfacing to the pocket piece!
-
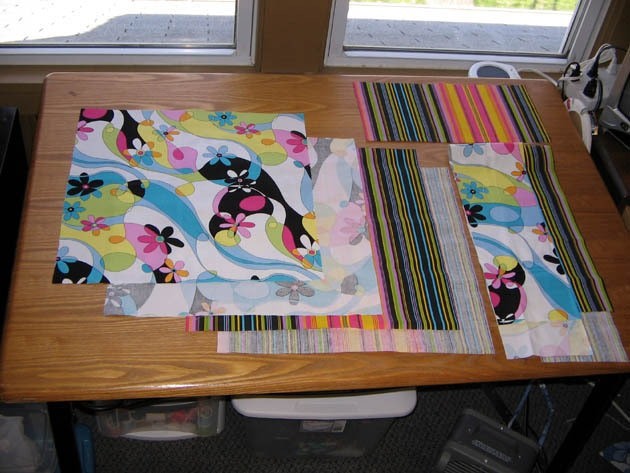
 Step 2
Here is everything.
-
 Step 3
2. Here is where it gets interesting…
We are going to shape our bag. Take all four of your big squares and stack them up. (Outside fabric with wrong sides together and then lining fabric with outsides together.)
-
 Step 4
Fold the whole thing in half.
Measure 3 inches in from the fold and make a mark.
Measure 12 inches up from the bottom right corner and make a mark.
Connect the dots! Draw a curve from one mark to the other. -
 Step 5
Now cut that curve out.
-
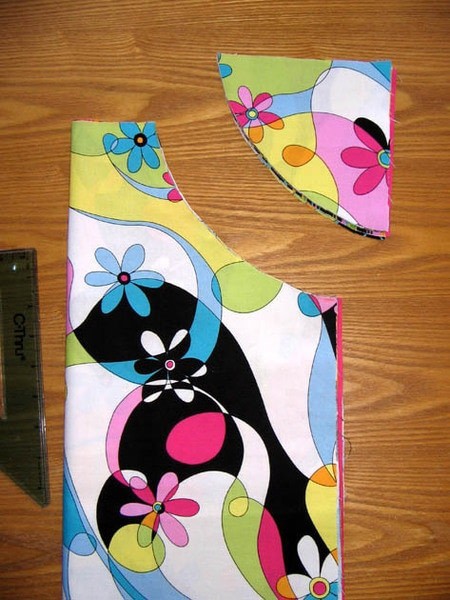
 Step 6
Open the whole thing and you should have four pieces that look like this.
-
 Step 7
We are going to do the same thing to the strap by giving it some shape.
Put your two strap pieces wrong sides together.
Fold in half lengthwise (make shorter)AND THEN widthwise(make thinner).Measure in 1.5 inches from the center fold and make a mark.
Draw a line from that point to the bottom corner. Cut that piece out.
-
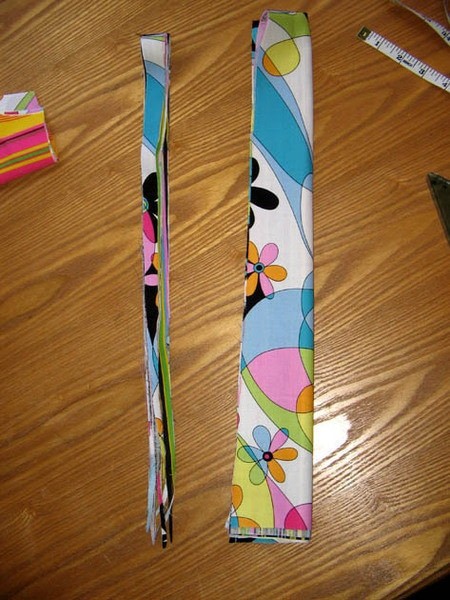
 Step 8
Open the whole thing up and you have two gigantic bowtie pieces.
. You mean we get to sew now?!!
Put the straps right sides together and sew the outside lengths together. Leave the top and bottom open. Then you turn the darn thing inside out and I hate this part!
Press flat and topstitch close to the edge along the sides.
-
 Step 9
Put the strap off to the side and grab the pocket piece and one of the big lining pieces.
Fold the pocket piece in half with right sides together.Sew around the pocket, but leave about 2 or 3 inches for turning.
Turn it inside out pop out the corners and press it flat.
-
 Step 10
Get the lining piece away from the cat.
-
 Step 11
Center the pocket on the lining piece; pin it down and stitch around the sides… you will catch the turning opening when you stitch it down.
-
 Step 12
4. Now we’re getting somewhere.
Put the main body fabric right sides together and stitch along the sides.
Do the same with the lining. -
 Step 13
Flip the lining right side out with the seams now in the middle.
Keep the main fabric inside out with the seams now in the middle.
Put the lining inside of the main fabric and pin around one of the curves.
Sew around that curve.
Do the same thing on the other side.
You will leave two openings for the straps. -
 Step 14
Straps!
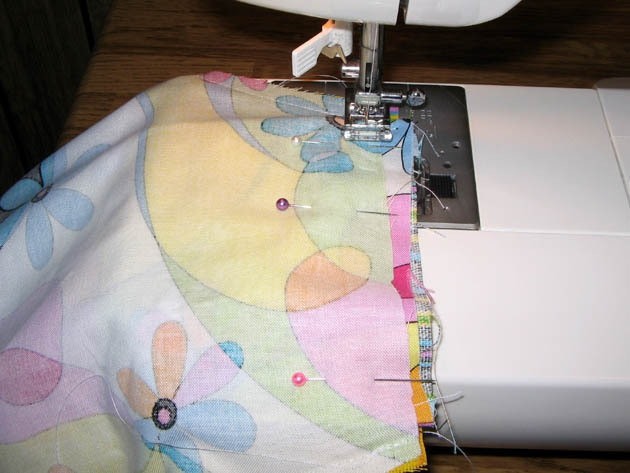
Feed the ends of the straps up through the bottom of the bag and up through the holes we left. Make sure not to twist it and that the lining of the strap matches the lining of the bag. Pin them in and stitch them down really well. -
 Step 15
Finishing.
Turn the whole thing inside out and match the center seams together. Pin and sew the bottoms closed, but make sure to leave an opening in the lining for turning. -
 Step 16
Turn it right side out… we’re almost there!
Sew the lining closed either by machine or by hand if you want it to be completely reversible. ( I always put my tag in this seam.)
-
 Step 17
Flip the lining inside of the bag.
Pin and topstitch around the curves. -
 Step 18
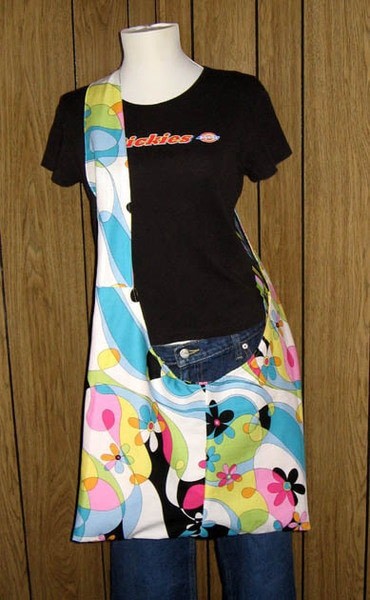
Here's the finished deal!
-
 Step 19
Inside out!
Please let me know if I don't make sense on something. That was hard work. Time for chocolate.


Versions
See all 10 »


Comments


 1
Paper Art »
How To Fix A Smoking Toilet
1
Paper Art »
How To Fix A Smoking Toilet
 2
Bracelets »
Gifts From The Village Of Shadows Bracelet
2
Bracelets »
Gifts From The Village Of Shadows Bracelet
 3
Charms »
Akuma No Otto Pendant
3
Charms »
Akuma No Otto Pendant
 4
Gadgets »
Kitchen Hook
4
Gadgets »
Kitchen Hook
 5
Trays »
Trays For Breakfast
5
Trays »
Trays For Breakfast
